The Photo Studio is Backbone’s all-in-one editing suite, available directly within the platform. It allows you to refine, personalize, and enhance your visuals without leaving your account.
You can use adjustment tools such as cropping, colour correction, blurring, resizing, and branding overlays. Or use our AI-powered tools such as the Eraser to remove unwanted elements, the Enhance option to replace the sky, and the AI Virtual Staging to furnish empty rooms or restyle existing furnished spaces in seconds.
🧭 Step-by-Step Guide
Accessing the Photo Studio
- Navigate to your Visual Gallery.
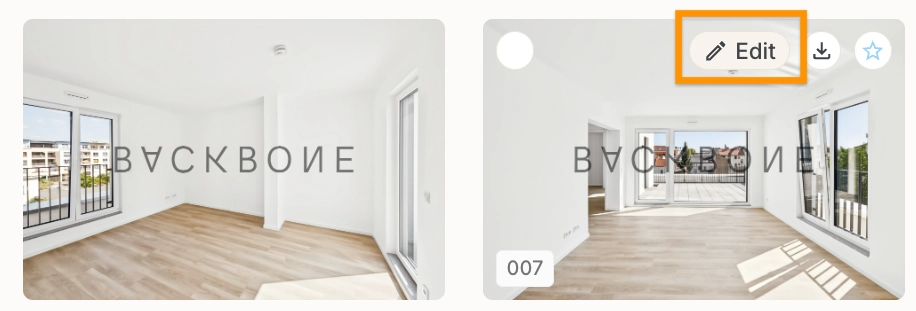
- Hover over a purchased image or your own uploaded image.
- Click the pencil edit icon to open the Photo Studio.
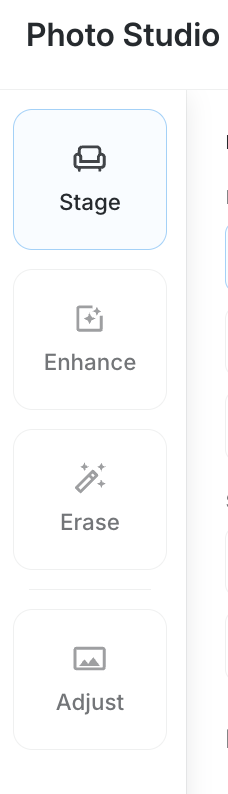
You will see several editing options in the left-hand column.
AI Virtual Staging Tool (Stage)
AI Virtual Staging allows you to transform property images in real time by staging empty rooms with furniture or restyling existing furnished spaces with different design aesthetics.
Traditional staging can be costly and time-consuming, often taking days to deliver results. With AI Virtual Staging, you can instantly showcase properties with professional-quality visuals that help buyers envision the potential of any space.
1. Select your staging method
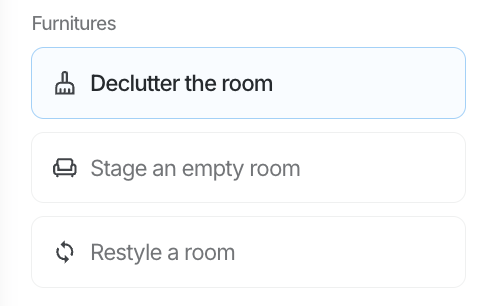
Choose between three staging options:
- Declutter the room: Empty an entire room by removing all furniture
- Stage an empty room: Add AI-generated furniture to unfurnished spaces
- Restyle a room: Digitally replace current furniture with new design aesthetics
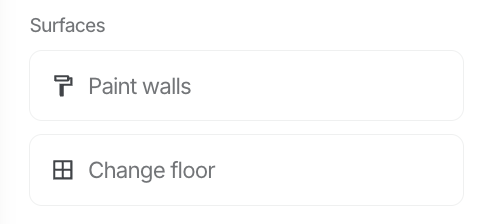
You can also choose to modify the surfaces, such as the colour of the walls and the floor.
2. Configure your staging preferences
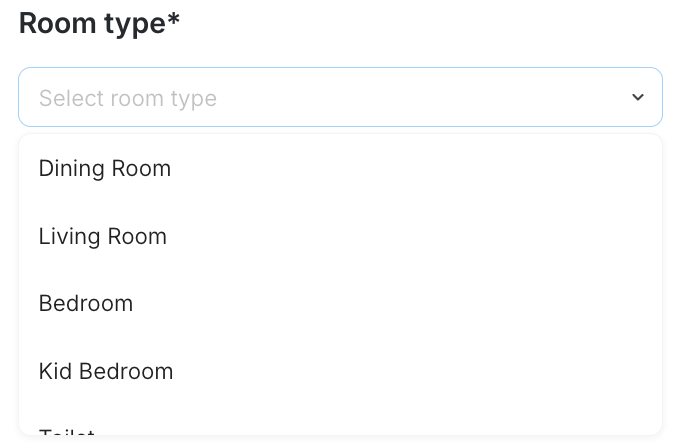
- Select Room Type: Choose from the dropdown menu, such as bedroom, living room, or kitchen, to help the AI suggest appropriate furniture and layouts.
- Select Design Style: Pick your preferred style from the available options. Style selections vary by room type.
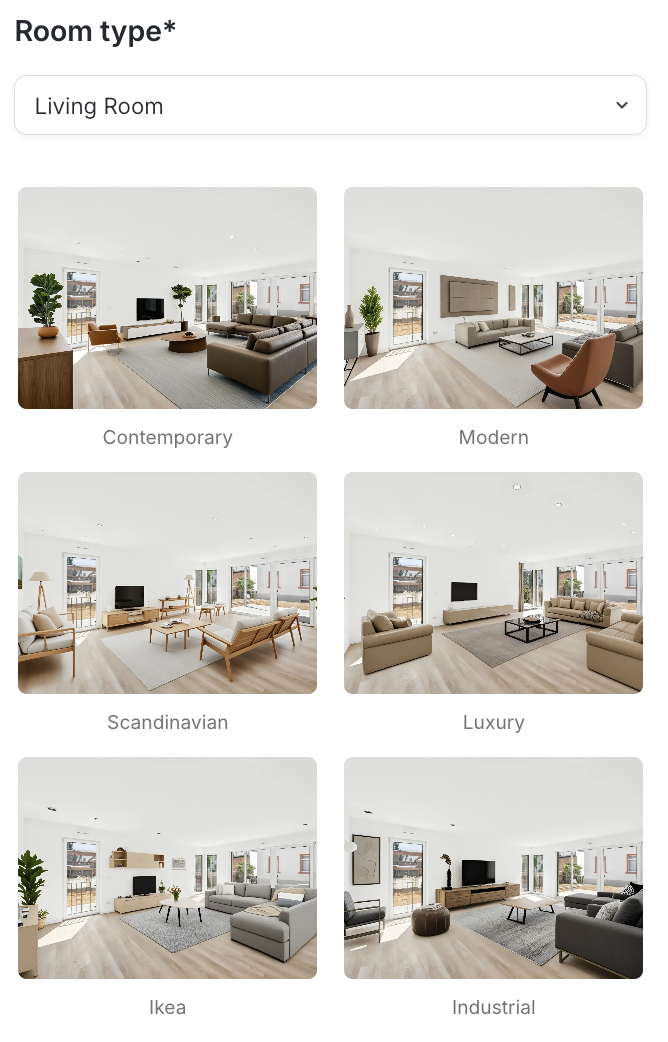
Examples of available styles include:
- Contemporary
- Modern
- Scandinavian
- Luxury
- IKEA
- Industrial
- Child room
- Boy room
- Girl room
3. Fine-tune your staging
Masking Tools
Use masking tools if you want more control over the generated result.
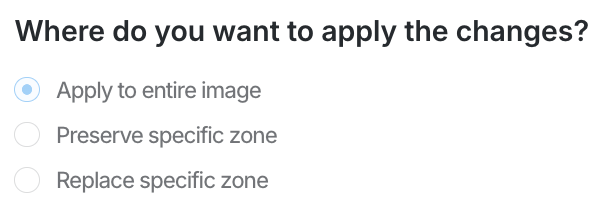
- Use Preserve a Zone to keep something exactly as-is.
- Use Replace a Zone to change only what you select.
Floor Settings

- The Keep the floor untouched option is selected by default, preserving your original flooring.
- Unselect this option if you want the AI to replace the floor in the generated image.
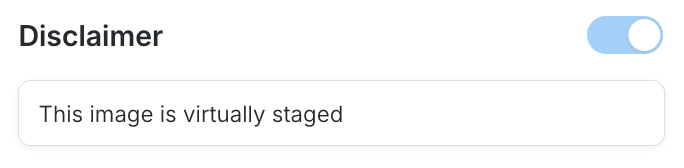
Disclaimer Text
- By default, no disclaimer is added.
- Select the disclaimer option to add text to the bottom right corner of the generated image.
- You can customize the suggested disclaimer text as needed.
- Make sure to follow any local advertising rules before publishing digitally staged images.
4. Generate your staged image
- Click Generate to start the AI staging process.

- A loading indicator will display while your image is being processed.
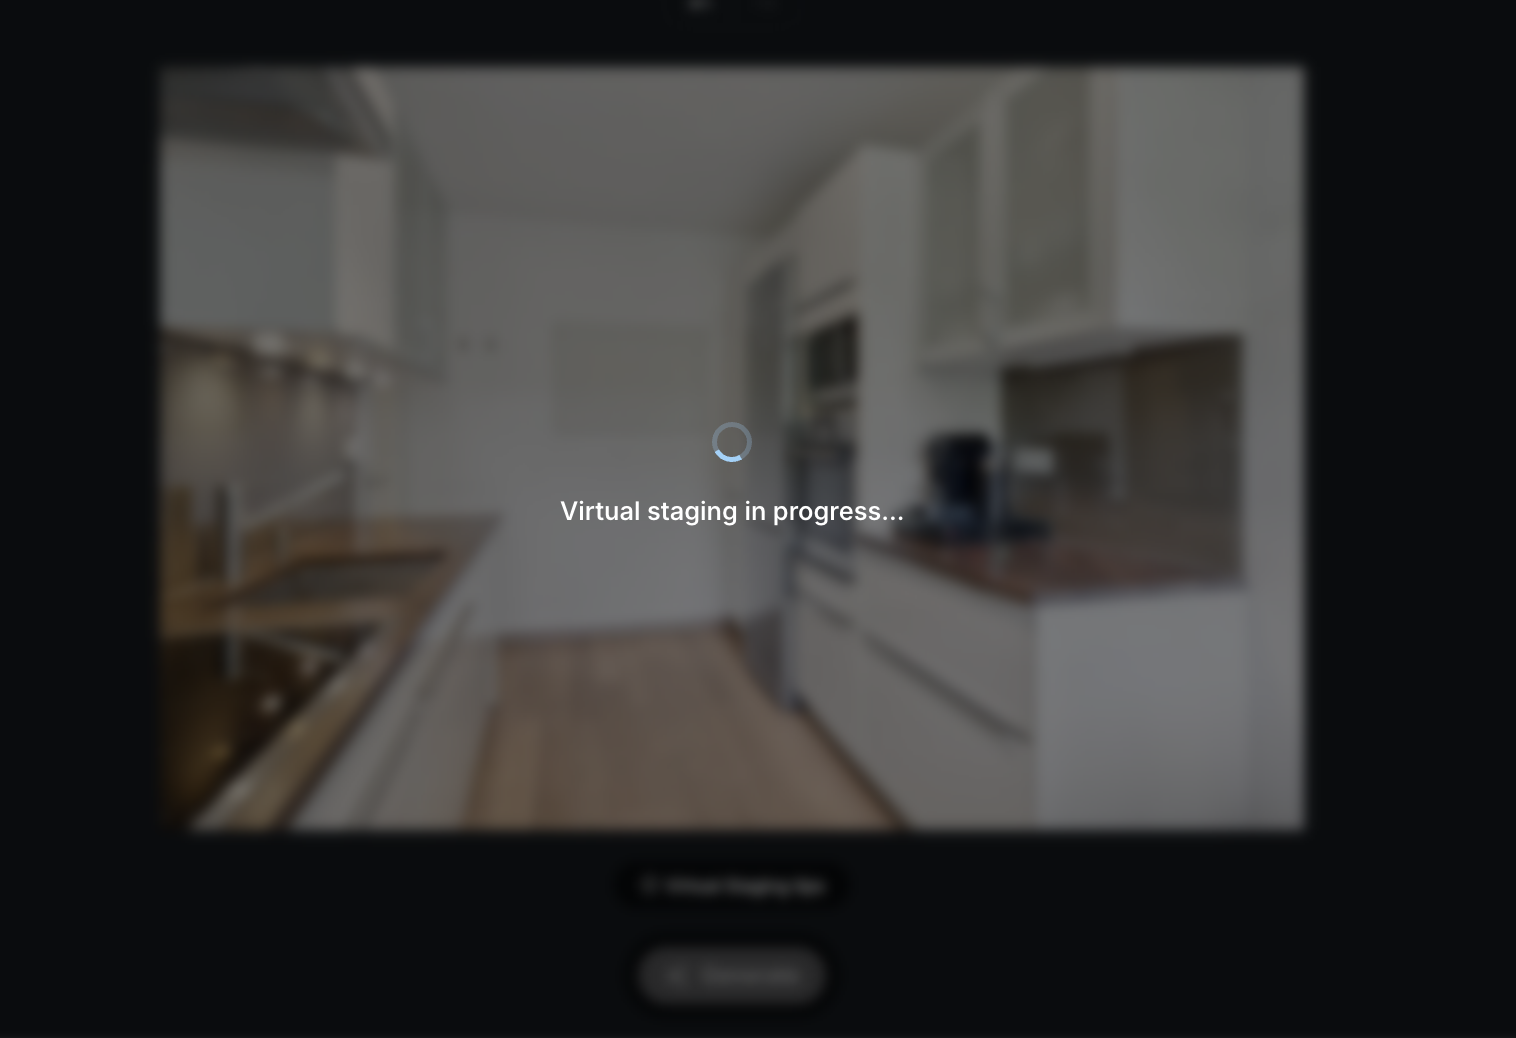
- Once complete, the staged image will replace the original in the canvas.
- If you are satisfied with the result, go to the step Saving Your Visuals.
Enhance Tool
- To automatically enhance a photo, click Generate in the Enhance tool. AI will automatically improve the photo by optimizing its colors, lighting, and sharpness.
- If you would like to replace the sky, enable the Replace Sky option before generating the image. You can then choose the style of sky you would like AI to apply.
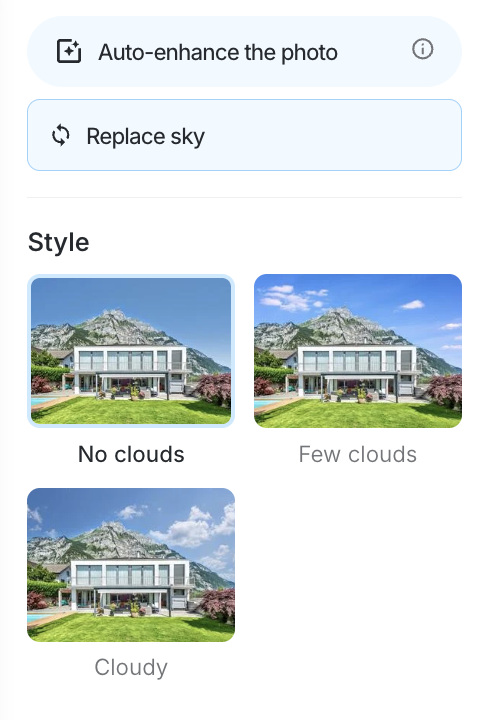
- If you are satisfied with the result, go to the step Saving Your Visuals.
Eraser Tool
The Eraser tool allows you to remove unwanted elements from an image. It automatically rebuilds the background to create a natural-looking result.
- In the Photo Studio, select the option Erase from the toolbar.
- Use the brush to paint over the objects or areas you want to remove.
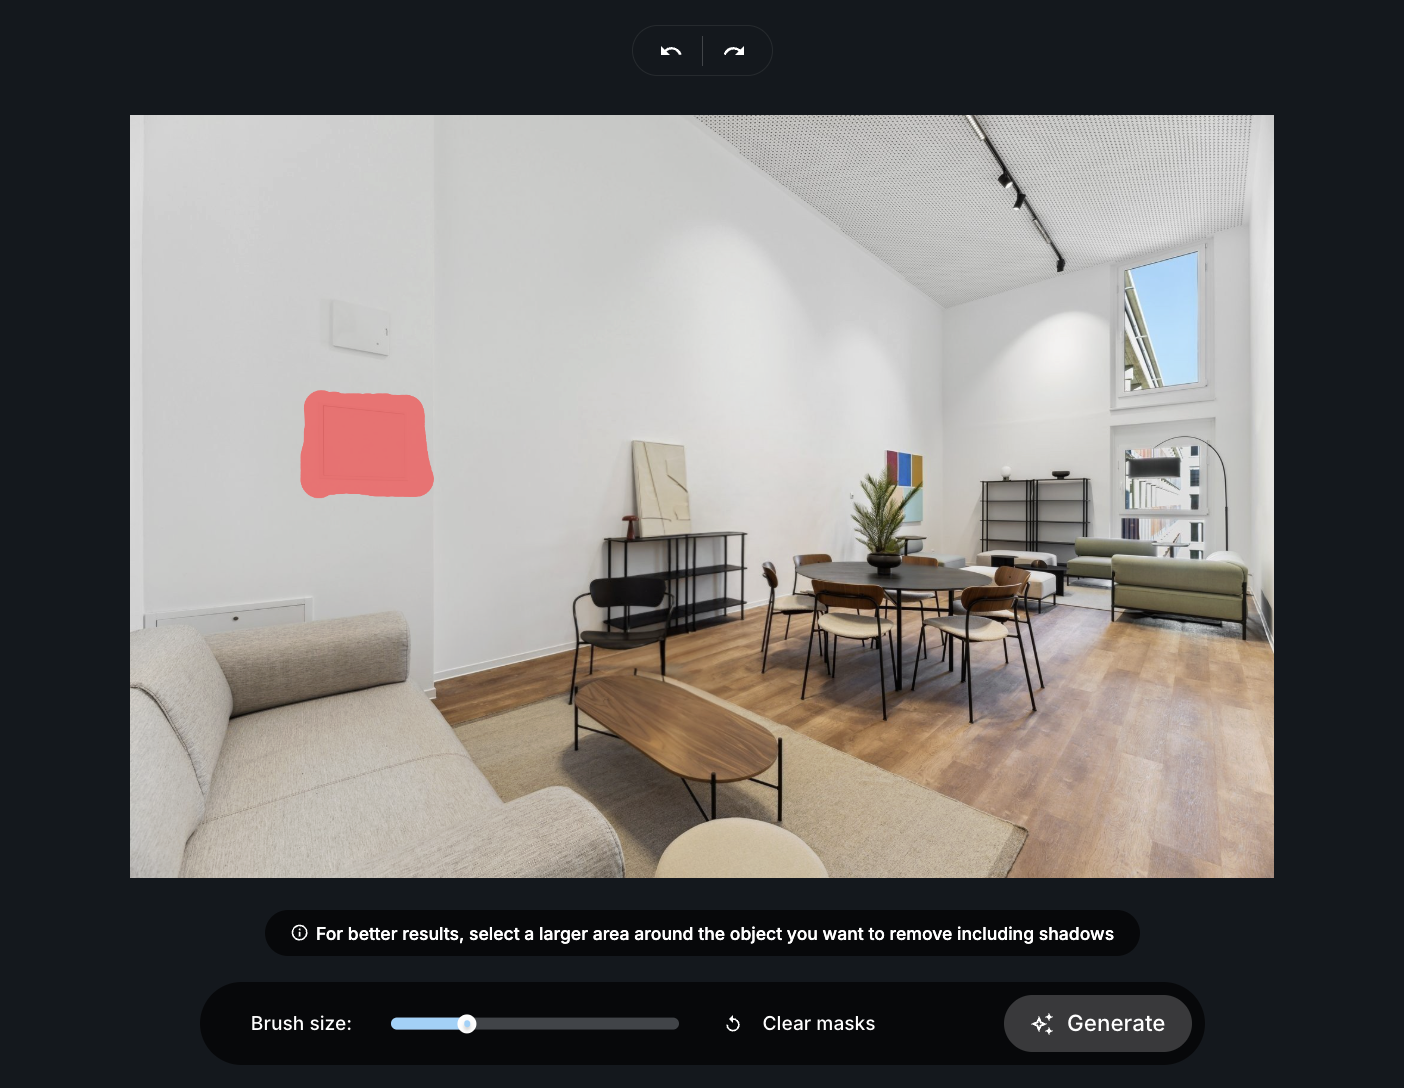
- Click Generate to preview the result.

- If you are satisfied with the result, go to the step Saving Your Visuals.
Adjusting Tools
All adjusting tools are accessible from the left-hand toolbar:
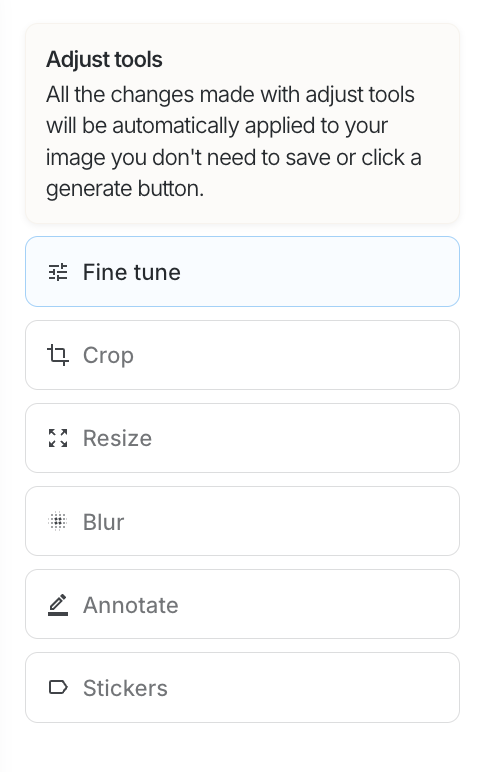
1. Finetune
Adjust visual parameters to match your style:
- Brightness
- Contrast
- Saturation
- Temperature, for warmer or colder tones
- Clarity
- Exposure
- Gamma
- Vignette
2. Crop
Rotate and crop your image to focus on specific areas.
These adjustments help correct lighting, color, and overall image sharpness.
3. Resize
- Adjust dimensions as needed.
- Best practice: Avoid reducing images below 1200 pixels to maintain optimal quality.
4. Blur
Blur sensitive information instantly:
- Select the Redact option.
- Brush over elements you want to blur, such as license plates, faces, or neighboring properties.
This helps protect privacy while keeping visuals usable.
5. Annotate
Add information directly to your visuals:
- Insert text to highlight key features
- Use arrows to point to specific areas
This can be useful for internal notes, explanations, or marketing annotations.
6. Stickers
Add branding elements to your visuals:
- Insert your logo
- Add other image files as overlays
This feature allows you to maintain brand visibility without external design tools.
Saving Your Visuals
Once editing is complete, choose one of the following options:

- Save and Replace: Replaces the original image in your gallery
- Save as new: Saves the generated or edited image as a new file and returns to the visuals gallery
- Cancel: Discards changes and returns to the visuals gallery
❓ FAQ
Q: Can I edit images that I haven't purchased? A: No, you can only edit purchased images or images you have uploaded to your account.
Q: What is the minimum recommended image size after cropping? A: To maintain optimal quality, avoid reducing images below 1200 pixels.
Q: Can I use multiple editing tools on the same image? A: Yes. You can combine all the tools in a single editing session.
Q: How does the Eraser work? A: The Eraser uses artificial intelligence to remove selected objects and intelligently rebuild the background, creating a natural appearance.
Q: How long does it take to generate a staged image? A: AI Virtual Staging generates results in real time, typically within seconds. This is significantly faster than traditional staging methods, which can take days.
Q: Can I try multiple design styles for the same room? A: Yes, you can generate multiple versions with different styles. Use Save as new instead of Save and Replace to keep multiple variations.
Q: What happens if I'm not satisfied with the result? A: You can click Cancel to discard the changes and return to your original image, then try again with different settings or styles.
Q: Can I preserve certain furniture while changing other elements? A: Yes, use the masking tools to preserve specific zones or replace selected areas while keeping the rest unchanged.
Q: What room types are supported? A: The feature supports various room types including bedrooms, living rooms, kitchens, children's rooms, and more. Each room type has curated design styles optimized for that space.
Q: Will the AI change my floor if I don't want it to? A: The Keep the floor untouched setting is selected by default to preserve your original flooring. You can unselect it if you want the AI to modify the floor.
Q: Why would I need a disclaimer on my staged images? A: Disclaimers can be useful to indicate that images have been digitally staged, maintaining transparency with potential buyers. The text is customizable to meet your specific requirements.
Q: Can I undo changes after saving? A: Yes, if you kept your original image by clicking Save as new for the edited version. You can return to the original one at any time, though individual edits within a session cannot be undone after saving the new version.
Q: Is there a limit to how many images I can edit? A: No, you can edit as many purchased or uploaded images as needed.
Q: Is there an additional cost to use the Photo Studio tools? A: These features are included exclusively with the Backbone Plan subscription. There are no additional charges for using these tools once you are subscribed to the Backbone Plan. To learn more about pricing, please visit our pricing page.